How to install smartNSF
The installation consists of two parts:
- smartNSF on the server
- smartNSF in the notes designer client
For the server part, you have to import the software into a notes application based on the Eclipse Update Site template. To be able to do the configuration of the routes, you need to install the software into the notes designer.
So get started, download the software and extract the zip file.
smartNSF on the domino server
For the server installation, you continue with the file: server-updatesite.zip
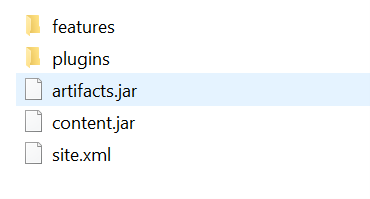
Extract the file server-updatesite.zip to see this contents:
On the Domino Server, create a new notes application based on the “Eclipse Update site” template (Advanced Template
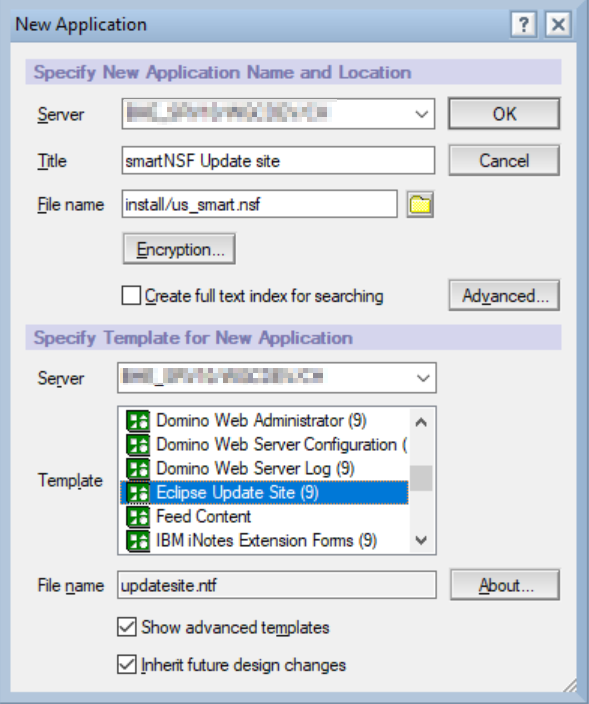
Adjust the Access Control List (ACL) to your needs.
Open the newly created update site database and install the software into the application.
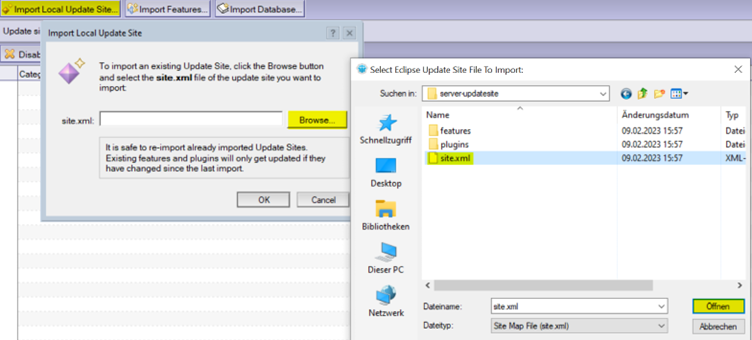
The feature is successfully installed. The version with the green checkmark will be activated by the http server task.

Don't forget to restart the http server task.
Depending on your configuration / security concept, you might have to sign all content in the update site. To do so, choose Actions - Sign all content from the menu.
To tell the server to load the XREST XSP feature (smartNSF), you need to modify the server’s notes.ini and reference the filename pointing to your eclipse update site.
OSGI_HTTP_DYNAMIC_BUNDLES=install\us_smart.nsfRestart the http server task so that the smartNSF feature is loaded into memory. This is visible in the domino server console with the output 'NSF Based plugins are being installed in the OSGi runtime'.
You can also verify if the framework version has been loaded. Execute the command in the domino console:
tell http osgi ss org.openntf.xrestThis should list as a result:

smartNSF in the notes designer client
For the designer installation, you continue with the file: designer-updatesite.zip
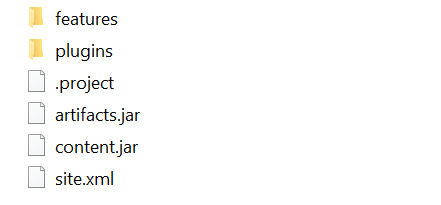
Extract the file designer-updatesite.zip to see this contents:
Open the designer and from the menu choose File – Application – Install

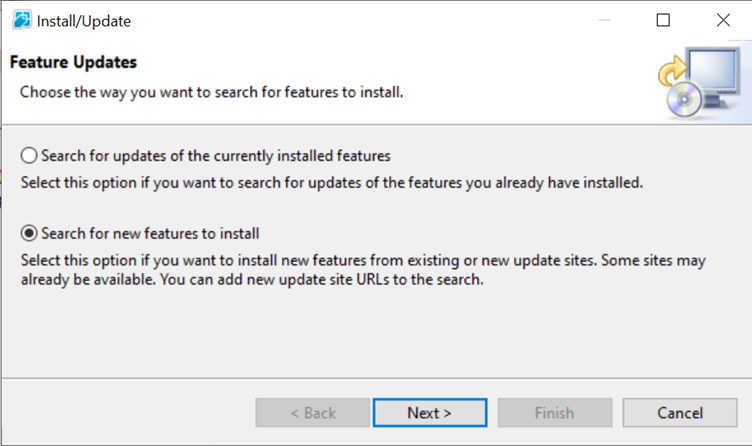
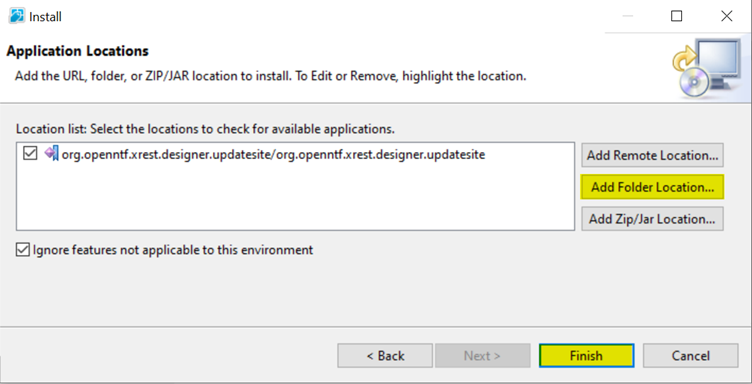
Add Folder Location and browse to the extracted folder
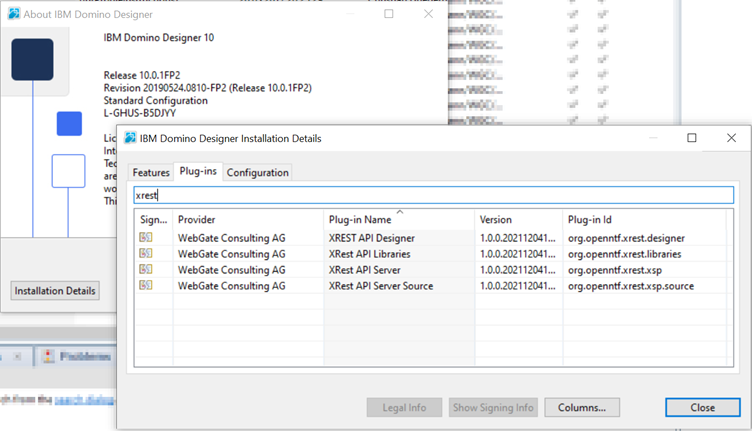
Where to go from here?
In case you are not familiar with smartNSF yet, we recommend to walk through our Getting Started steps.
Else, head over to the documentation.
